Installing an air-conditioning unit is an important move toward thermal comfort and effective cooling in your home. This guide will take you through each step of the Air Conditioner installation process, from your first consultation to system testing. After following all the steps, you can feel confident that your new AC unit will be installed safely, efficiently, and according to industry standards.
The Cooling Journey: Step-by-Step AC Installation Guide
Having your AC installed properly from a certified company like Netherland Air Conditioning is key to efficiency, energy savings, and reliability over time. A system that is installed correctly performs better, reduces costs from repairs, and creates more comfort inside, which is better for health, safety, and satisfaction at home or work.
Follow this step-by-step guide for seamless Air Conditioner installation:
- Step 1: In-Home Consultation
A licensed contractor will evaluate your existing AC unit and will also provide a proposal for a new system as a result of determining the appropriate size, capacity, and Air Conditioner installation location for your home. The correct size of the AC unit is vital to your comfort and efficiency.
- Step 2: Removing the Old System
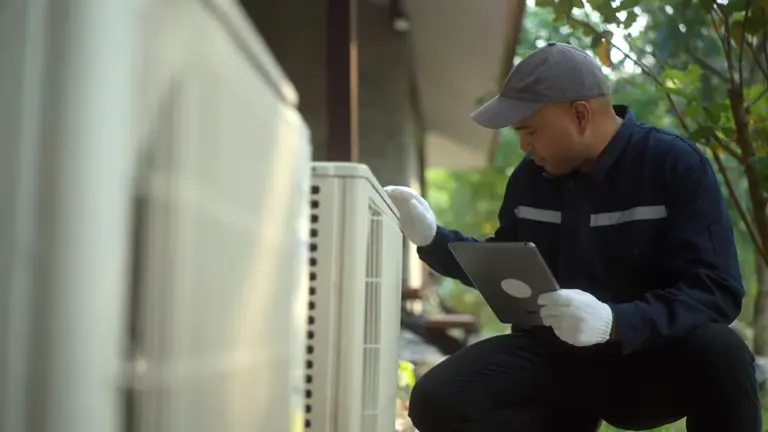
The technicians will remove the old air conditioner safely, check the refrigerant with EPA-certified methods, and protect your home. During air conditioner installation, they’ll inspect the ductwork and repair any leaks to ensure the system works as designed after installing the new components.
Here are some tips about safe removal and property protection:
- EPA Certified refrigerant removal
- Cover and protect surfaces in your home
- Inspect ducts for leaks and repair them
- Step 3: Preparation
The site is ready for the new AC unit by leveling the ground, replacing the pad with a vibration-resistant base, and looking at refrigerant lines. The system needs to stay stable to prevent damage and ensure a uniform system life.
Please follow these population and groundwork steps:
- Replace the pad with a stable base
- Level ground – use gravel if needed
- Clean or replace refrigerant lines
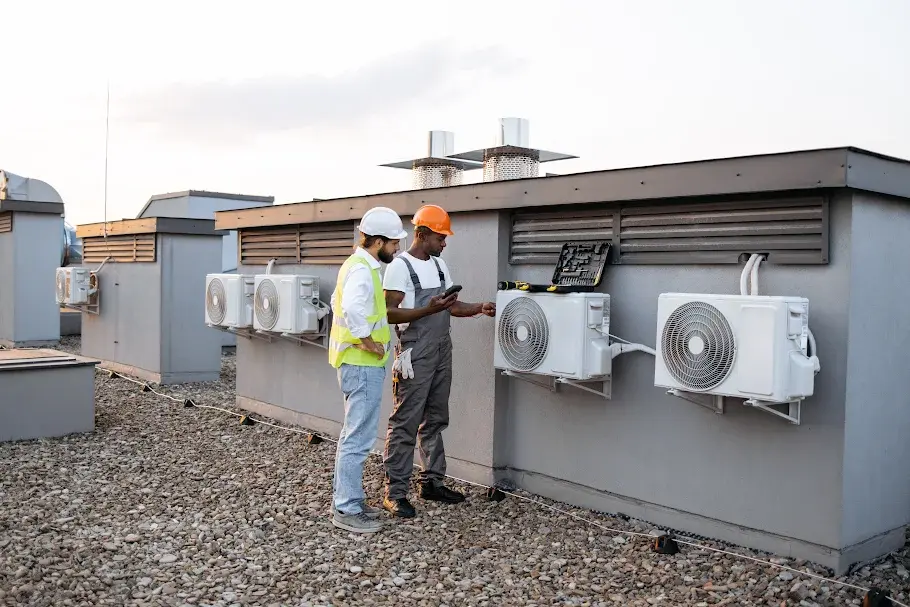
- Step 4: Outdoor Unit Installation
The air conditioner condenser is now positioned on the new pad and secured. Technicians weld the copper line set, complete the filter dryer installation, and guarantee the system is sealed and free of moisture to optimize longevity and performance.
Here is the step-by-step process for the outdoor unit installation:
- Position the condenser on the pad.
- Braze copper line set and valves.
- Install a filter dryer for moisture control.
Step 5: Wiring Installation
The installers will install a service disconnect box and connect the wires to the electric panel per the National Electrical Code requirements. Electrical wires energized at both high and low voltage will be reconnected, ensuring safety while operating the new AC.

You will need to make sure to note these three wiring and safety items:
- Install a new disconnect box
- Wire according to safety rules
- Verify correctly sized overcurrent protection
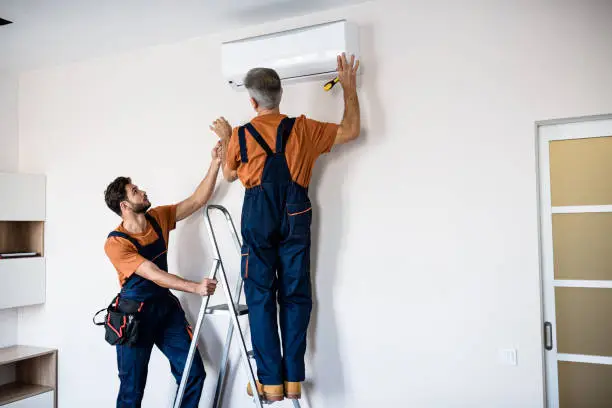
- Step 6: Indoor Evaporator Coil Installation
A cased evaporator coil for the air conditioner is installed above the furnace for ease of access and cooling efficiency. Having proper spacing and insulation will prevent components from freezing or melting, as well as promote proper airflow.
Below are the steps for indoor evaporator coil installations:
- Installing a casing coil above furnace
- Seal unit to sheet metal plenum, as shown below
- Space and insulate the coil properly
- Step 7: Refrigerant Line Installation
Fasten the air conditioner copper line sets to the support beams. Insulation will be applied to the suction lines for safety. Internal copper parts are purged of contaminants and moisture with dry nitrogen before brazing. Once air is evacuated, a vacuum will be used to remove moisture and contaminants.
- Step 8: Condensate Drain Line Installation
A PVC drain is installed to channel moisture from the coil to either a drain or a pump, with safety switches to prevent flooding in case of a problem. The connections are glued and secured to prevent leaks and their related problems, including overflow:
- Step 9: Thermostat Installation
Installers either install a new thermostat or inspect the connections of an existing thermostat to make sure it is compatible with the new air conditioning unit. Installers also demonstrate how to use the thermostat, and smart thermostat capabilities may be available in the new system.
Key thermostat considerations:
- Install or inspect the thermostat
- Check connections with the new AC
- Demonstrate controls to the homeowner
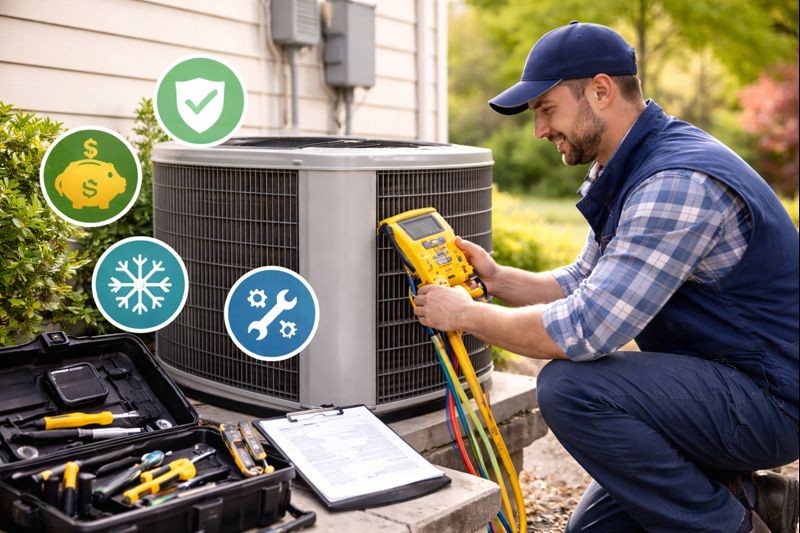
- Step 10: System Testing
The technician runs the new Air Conditioner for close to 20 minutes, evaluating the refrigerant flow, temperature of the air, and the thermostat operation. They observe how the AC performs and confirm it is operating safely and its reliable performance at that time before finishing the installation.
Conclusion
Correctly installing an air conditioning system is essential for properly cooling your home and ensuring your comfort for many years to come. By carefully following all the steps in this guide—from the initial consultation in your home to the final test of your new system—you can be sure your new air conditioning unit will function safely, efficiently, and dependably over time. If you are ever unsure of any step in the process, be sure to consult a licensed professional for the best results. We hope you will enjoy the benefits of a professionally installed air conditioning system for many years!
FAQs
Can I reuse old ductwork for AC Installation?
Yes, as long as it’s in good condition and properly sealed.
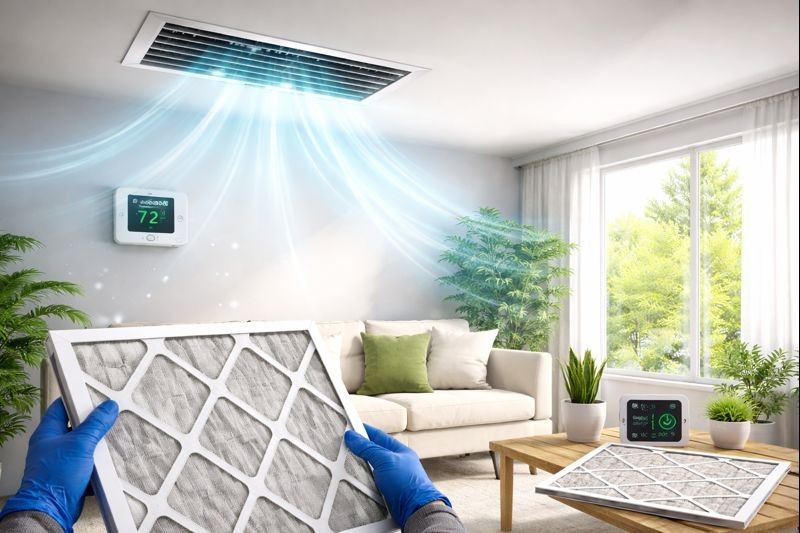
How often should I replace the air filter?
Replace your air filter every 1-3 months for best performance.
Will a new AC lower my energy bills?
Yes, modern units are more efficient and can reduce energy costs.
What size AC unit do I need?
An HVAC technician will perform a load calculation, considering home size, insulation, and windows, to determine the proper capacity.
What warranty should I expect with installation?
Ask about the parts, labor, and workmanship warranties, and whether your role (e.g. maintenance) affects it.